My Store
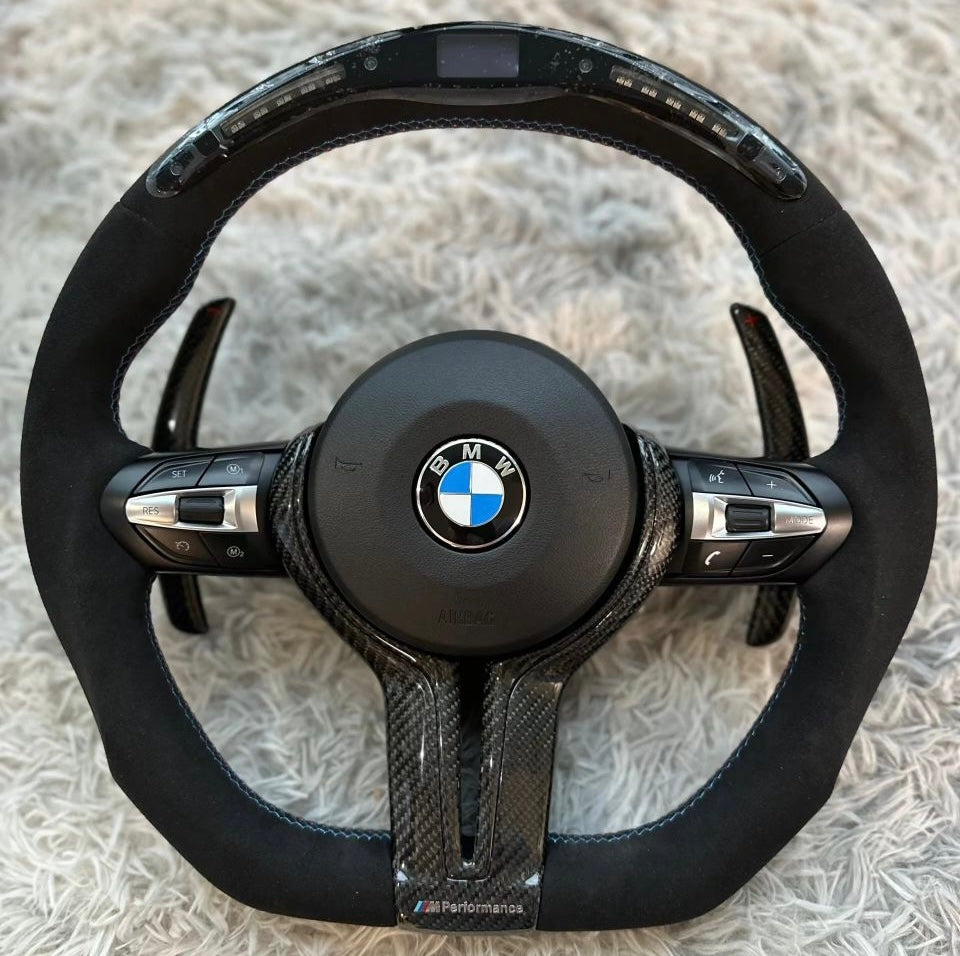
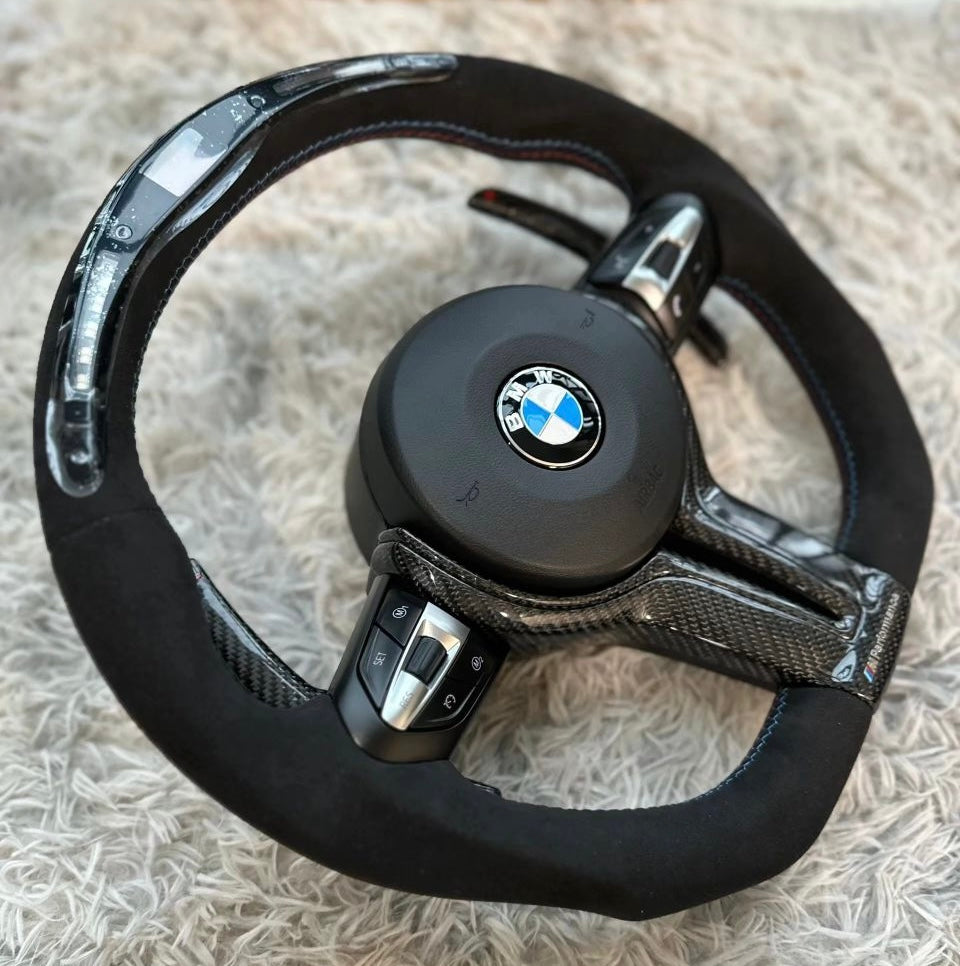
BMW Alcantara LED Steering Wheel
BMW Alcantara LED Steering Wheel
Couldn't load pickup availability
Product Specifications
Product Name: BMW Alcanara LED Steering Wheel
Product Features:
- Comfortable Alcantara finish on the wheel frame with M Sport stitching
- Fully functional wheel buttons compatible with the original car
- LED screen in the center displaying RPM and other vital information
- Lights on the wheel that illuminate as the car revs higher
- Customisation colour/carbon and optional airbag, based on customer preference
- Designed to fit any BMW E, F, or G series models
Important Information:
- Heating and vibration features are not included as standard and must be requested separately before purchase.
- Customers retain their original wheel.
- This item is made to order and is non-refundable, except in cases of damage caused by our company.
- Once an order is placed I will email you personally to ensure all styles and specifications are correct. Also feel free to message me when you order to specify vehicle model.
Share
Wheel Installation
Wheel Installation
ProDrive Components: Step-by-Step Guide to Changing Your Steering Wheel
At ProDrive Components, we believe upgrading your vehicle should be straightforward and rewarding. Follow these simple steps to install your new steering wheel and experience the ProDrive difference!
1. Disconnect the Battery
- Safety First: Before starting any work, locate and disconnect the negative terminal of your vehicle’s battery. This prevents accidental deployment of the airbag and ensures your safety during the installation process.
2. Remove the Airbag
- Handle with Care: The airbag is typically secured with spring-loaded mechanisms located behind the steering wheel. Using a small flat-head screwdriver, carefully locate and insert it into the holes on either side of the steering wheel to release the spring clips holding the airbag in place. Gently pry and release both sides to detach the airbag.
3. Unplug the Old Steering Wheel
- Disconnecting Connections: Once the airbag is removed, locate the electrical connectors for any additional controls such as horn, cruise control, or audio buttons. Unplug these connectors carefully to completely detach the old steering wheel from the vehicle.
4. Remove the Steering Wheel
- Secure and Remove: With the connectors detached, use an appropriate socket wrench to loosen and remove the center bolt or nut that holds the steering wheel onto the steering column. Keep track of any additional hardware such as spacers or adapters that may be present.
5. Install the New Steering Wheel
- Secure Fit: Align the new ProDrive Components steering wheel onto the steering column, ensuring it fits snugly and securely. Reattach any additional hardware, then tighten the center bolt or nut to the manufacturer’s specified torque using a torque wrench to prevent over-tightening.
6. Reconnect Electrical Connections
- Plug and Play: Reconnect all electrical connectors for the airbag, horn, and any other controls on the new steering wheel. Ensure each connection is secure to avoid any functionality issues.
7. Reconnect the Battery
- Power Up: Finally, reconnect the negative terminal of your vehicle’s battery. This step reactivates the vehicle’s electrical system and allows you to test the functionality of your new steering wheel.
8. Enjoy Your Upgraded Steering Wheel
- Test and Verify: Test all functions of the steering wheel, including horn, airbag, and any integrated controls to ensure everything works correctly. Adjust the steering wheel position if necessary for comfort.
Note: The installation process may vary slightly depending on the make and model of your vehicle. Always refer to your vehicle’s owner manual for specific instructions and torque specifications to ensure a safe and proper installation.
Experience the ProDrive Components difference—where quality meets precision for a perfect drive every time.


